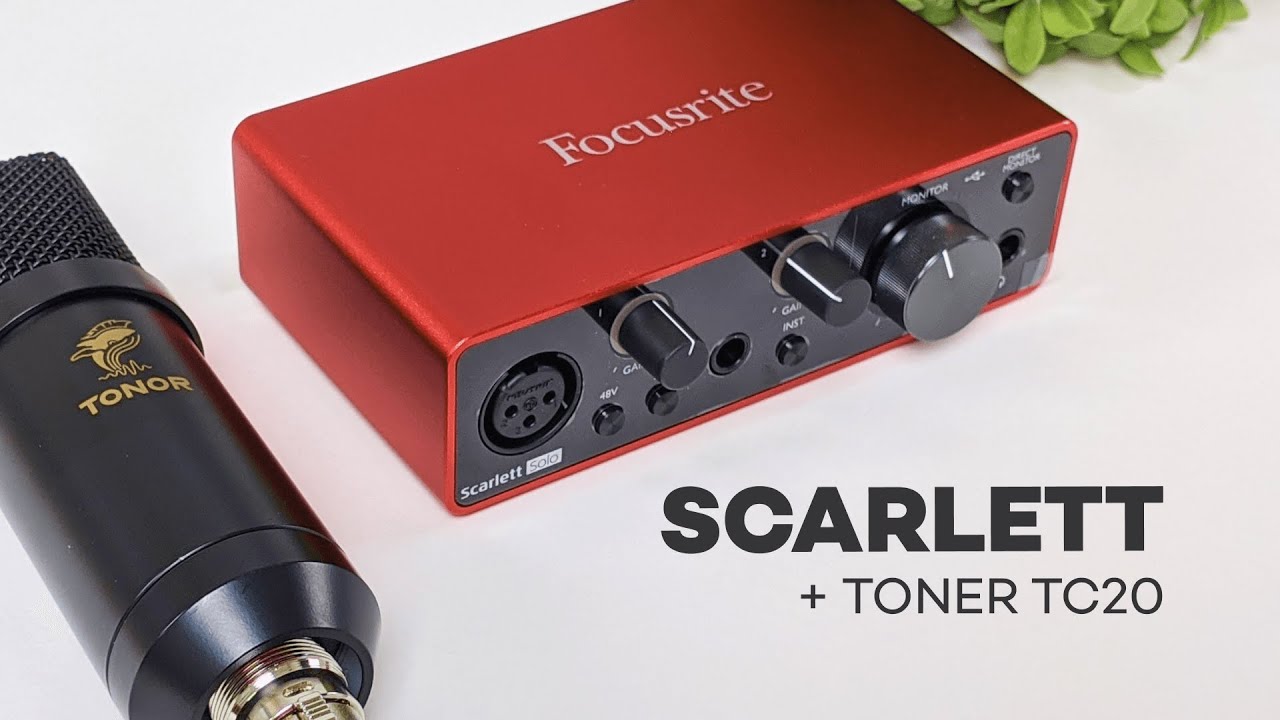
If you're trying to set up an XLR microphone and you're not totally sure how the whole chain works, this is a straightforward combo to understand: the Focusrite Scarlett Solo as the audio interface, and the Tonor TC20 as the mic kit.
I’m going to walk through what each piece does, what comes in the box, how to connect everything, how to check if it’s working, and then the big question: does this actually sound better than a regular USB microphone?
Short answer: yes and no. The setup is solid, the interface is easy to recommend, but the actual sound upgrade depends a lot more on the microphone itself and how close it is to your mouth than people expect.
What an XLR microphone setup actually is
An XLR microphone uses a larger three-pin connection instead of plugging directly into a computer over USB. Since most laptops and desktops do not have an XLR input built in, you need an audio interface in the middle.
That’s what the Scarlett Solo is doing here. It acts as the bridge between the microphone and your computer.
People usually choose XLR over USB because XLR setups can deliver more power and give you access to dedicated audio hardware, controls, and expandability. For condenser mics like the TC20, that external power source matters. As Tonor notes for this mic, it needs phantom power or an interface, mixer, or preamp to function properly. If you want a more technical breakdown of balanced audio connections and why XLR is so common in recording, this XLR overview is a helpful reference.
What comes with the Tonor TC20 mic kit
The nice thing about the Tonor TC20 is that it’s not just a microphone by itself. It’s sold more like a starter kit, which makes it easier for anyone piecing together their first desk setup.
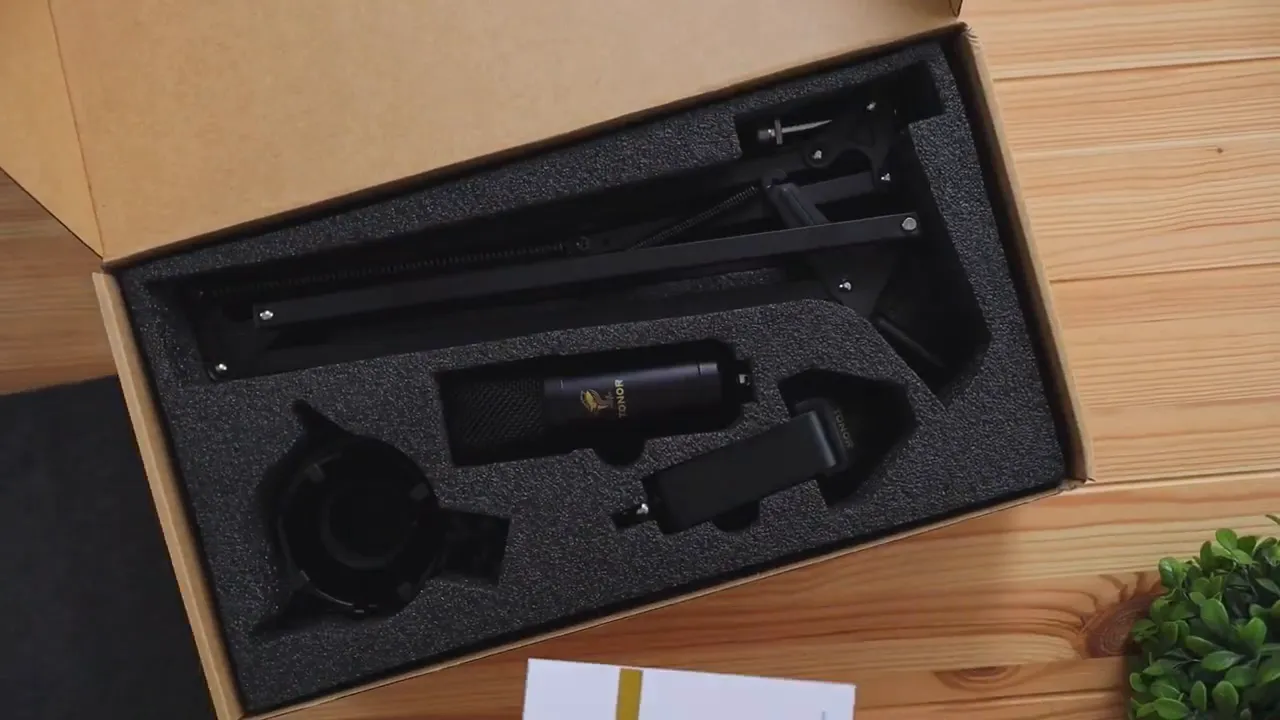
Inside the box, you get:
- The Tonor TC20 condenser microphone
- A boom arm
- A shock mount
- A pop filter
- A foam mic cover
- Cable management straps
- An XLR cable
That’s actually a big deal, because with some XLR mics you end up buying half the setup separately.
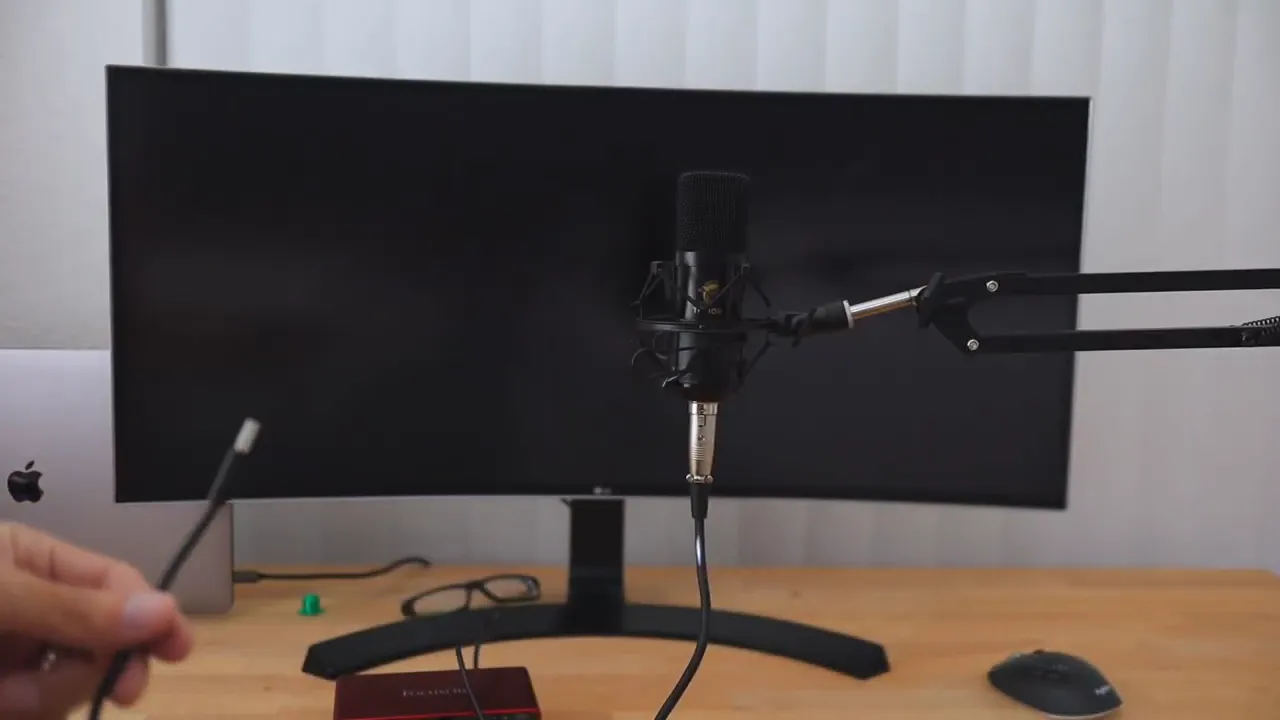
The included boom arm helps you position the mic close to your mouth, which matters a lot more than most people realize. The shock mount helps reduce vibrations from the desk, so if you bump the surface or move things around, less of that noise transfers into the microphone. The pop filter and foam cover help tame plosives, those harsh “P” and “B” sounds that can overload the mic.
What the Focusrite Scarlett Solo does
The Scarlett Solo is a compact USB audio interface. Since it’s the Solo version, it’s designed around a smaller footprint and a simpler input setup.
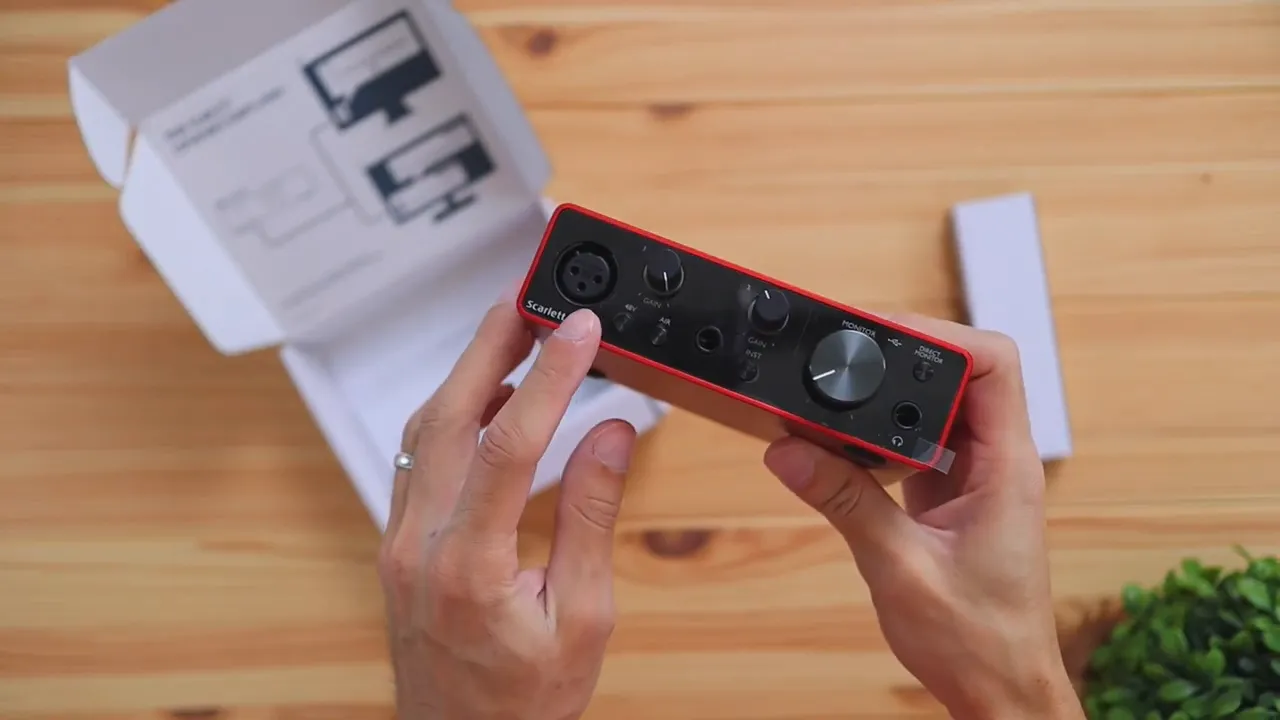
On the front, you get:
- An XLR input for your microphone
- Gain controls to adjust microphone and instrument levels
- An instrument input for something like a guitar
- A headphone output for direct monitoring
- A monitor level control
On the back, you get:
- Two speaker outputs for left and right studio monitors
- A USB-C connection to connect the interface to your computer
If you plan to plug regular headphones into the Scarlett Solo, keep in mind that you may need a 1/4-inch adapter. The headphone jack on the interface is not the same size as a standard 3.5mm aux plug.
If you're comparing different mics for streaming, gaming, or content creation, I’ve also covered the Logitech G Yeti Orb, which is a simpler USB option and useful to compare against an XLR setup like this.
How to connect the Tonor TC20 to the Scarlett Solo
The actual setup process is pretty easy once you know what goes where.
1. Connect the XLR cable to the microphone
XLR cables have two different ends: male and female. On this setup, the male end goes into the microphone.
Push it in until it clicks. Once it's connected, I’d recommend wrapping the cable around the boom arm so you don’t have extra cable hanging all over your desk.
2. Connect the other end of the XLR cable to the interface
The other end plugs straight into the XLR input on the Scarlett Solo. Again, just push it in securely and you’re done.
3. Connect the Scarlett Solo to your computer
Use the included USB cable to connect the interface to your computer. The Scarlett Solo uses USB-C on the interface side and typically USB-A on the computer side with the included cable.
That said, there was one setup issue worth mentioning. On a MacBook Pro using a USB-C hub, the connection did not detect properly. Swapping to a direct USB-C to USB-C cable fixed it.
So if your interface isn’t showing up, don’t immediately assume the interface or microphone is defective. Try these first:
- Use a different cable
- Connect directly to the computer instead of through a hub
- Test a different USB port
That kind of troubleshooting is especially important on laptops that rely on docks and dongles.
How to know the microphone is working
Once the mic and interface are connected correctly, the Scarlett Solo gives you a simple visual clue that signal is coming through.
You’ll see a green light responding when you tap the microphone or speak into it.
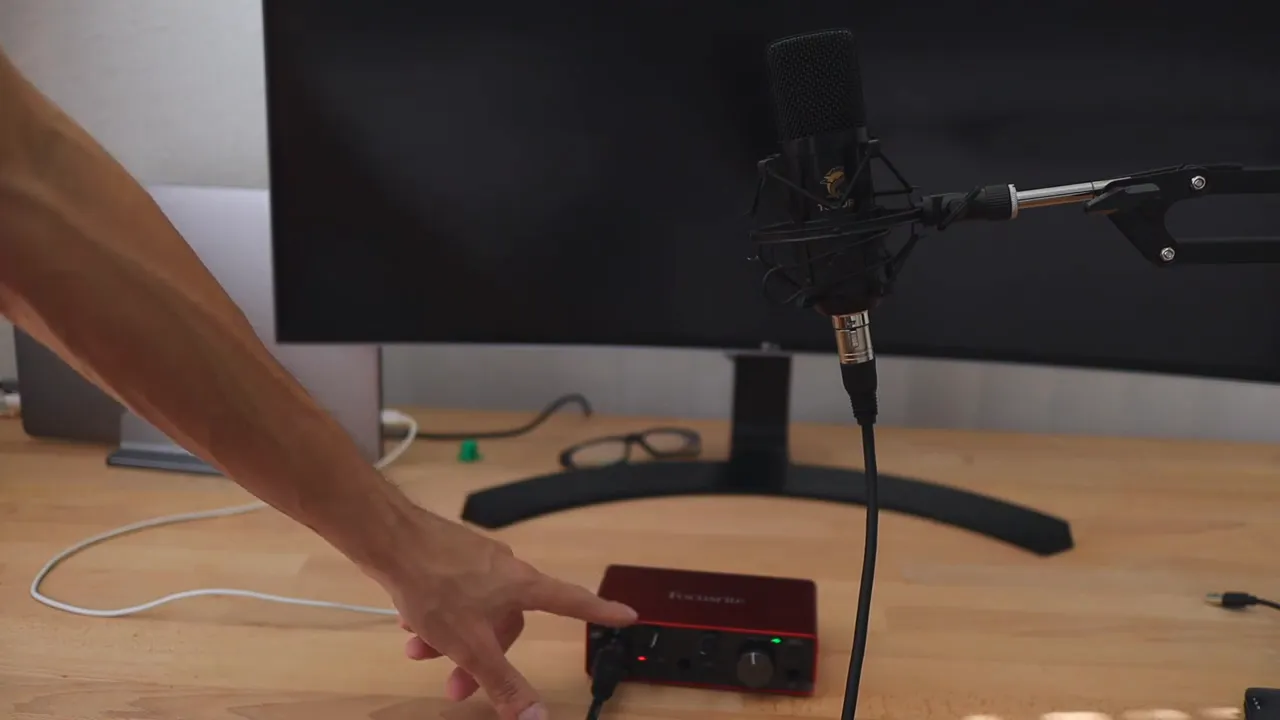
If that light is active, the setup is basically alive and passing audio.
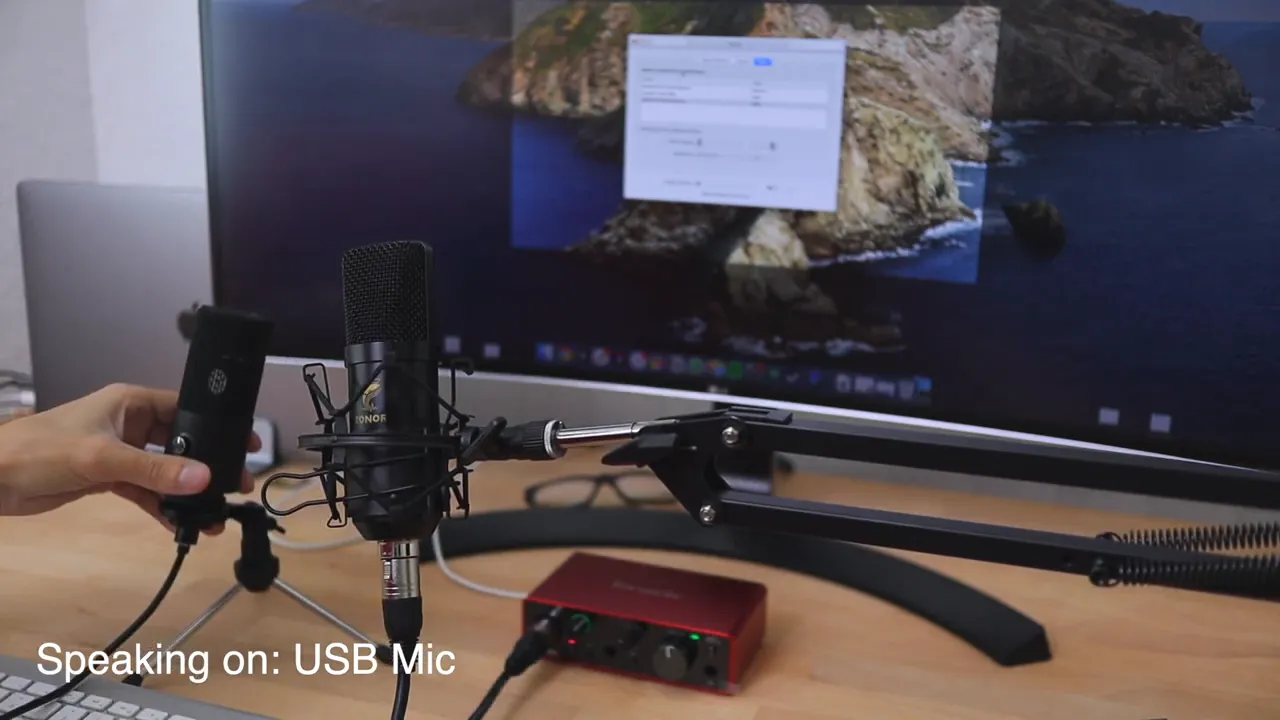
How to select the Scarlett Solo on your computer
After the hardware is connected, go into your computer’s sound settings and select the Scarlett as your input device.
Once that’s selected, your computer should start using the XLR microphone through the interface.
For anyone newer to audio interfaces, Focusrite also has a general Scarlett quick start guide that explains setup basics and device configuration.
USB microphone vs XLR microphone: the real difference
This is where things get interesting.
With both microphones placed at roughly the same distance, the difference in sound quality was not huge. That’s important, because a lot of people assume XLR automatically means a dramatic jump in audio quality.
In this case, it really didn’t.
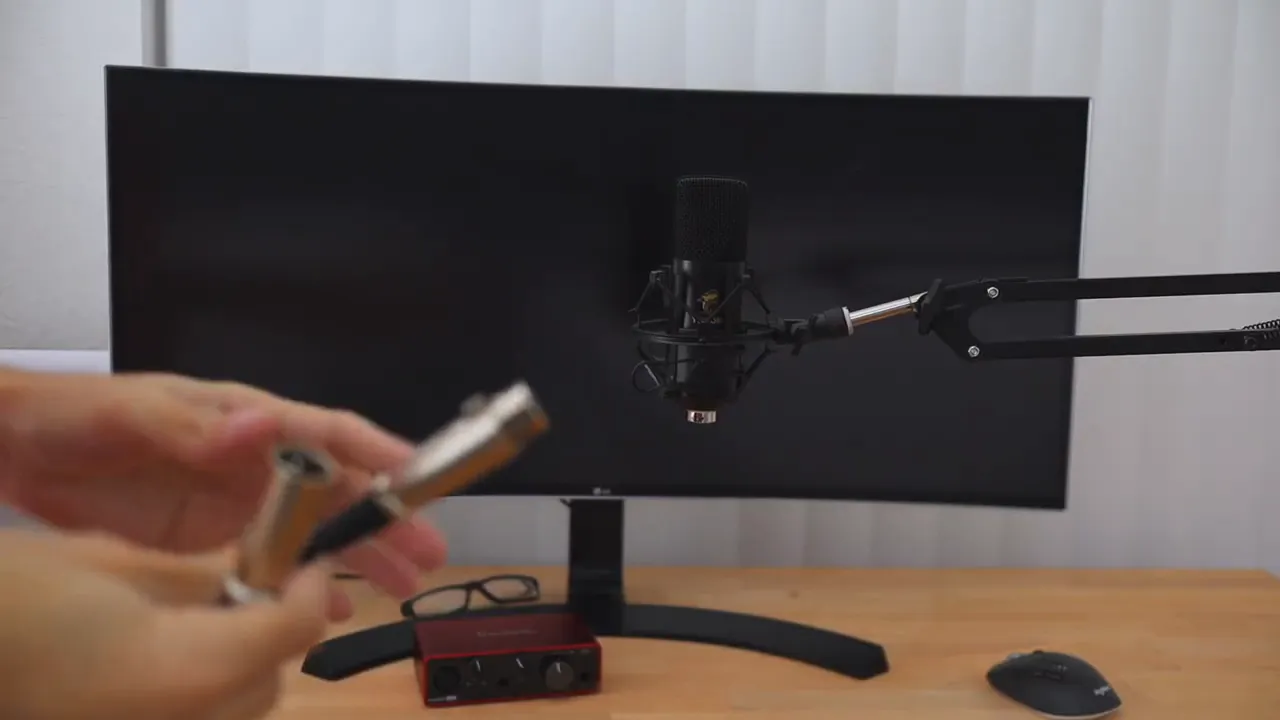
The bigger factor was microphone placement. Once the mic was brought very close to the mouth, around a couple inches away, the sound improved noticeably. That made more of a difference than simply switching from USB to XLR.
So if your audio sounds weak, distant, or roomy, the first thing to fix is often not the connector type. It’s the mic position.
That’s also one of the biggest advantages of a kit like this. The boom arm makes it much easier to keep the microphone in the ideal position without having it awkwardly sitting way back on the desk.
Why the Tonor TC20 didn’t completely transform the sound
The Tonor TC20 kit comes in at under $100, and that price includes a lot of accessories. Once you mentally subtract the boom arm, pop filter, shock mount, and cable, the microphone itself is really in the budget category.
That helps explain why the difference wasn’t massive.
It’s not that XLR is pointless. It’s that pairing an entry-level XLR mic with an interface doesn’t automatically outperform every USB microphone by a mile. If you step up to a more expensive XLR microphone, there’s a much better chance you’ll hear the kind of improvement people associate with this type of setup.
If your budget is tight, a good USB mic can still be the smarter buy. If your budget is larger and you want room to grow, an XLR interface like the Scarlett Solo starts making more sense.
Final take on the Scarlett Solo and Tonor TC20
Here’s the honest conclusion.
The Focusrite Scarlett Solo is easy to recommend. It’s compact, simple, and gives you the core connections most people need for a home studio, podcasting setup, voice-over work, streaming, or YouTube production.
The Tonor TC20 kit is more mixed. The accessories are useful, especially the boom arm and shock mount, but the microphone itself didn’t create a dramatic leap over a regular USB microphone in this test.
If your total budget is under $100, I’d probably lean toward a USB microphone instead of building out an XLR chain around a very budget mic. If you already have the Scarlett Solo or you want a starter XLR setup with room to upgrade later, the TC20 kit can still be a practical entry point.
And if you're building out a broader desk or creator setup, you can find more gear reviews and comparisons over at Kova Tech.
Best use case for this setup
- Good fit: beginners who want to learn XLR, use a boom arm, and have an upgrade path
- Great fit: anyone who already plans to add instruments or studio monitors to their setup
- Less ideal: people on a strict budget who only want the best sound per dollar right now
Quick setup checklist
- Attach the TC20 to the included mount and boom arm
- Plug the XLR cable into the microphone
- Plug the other end into the Scarlett Solo
- Connect the Scarlett Solo to your computer
- Avoid problematic hubs if detection fails
- Check for green signal activity on the interface
- Select the Scarlett Solo in your sound settings
- Position the mic close to your mouth for the best sound
That last point is the one most people should remember. A properly placed microphone can improve your audio more than you’d think, and sometimes more than swapping connector types alone.


